ข้อดีของรถฟอร์คลิฟท์เครื่องยนต์สันดาปภายใน (IC)
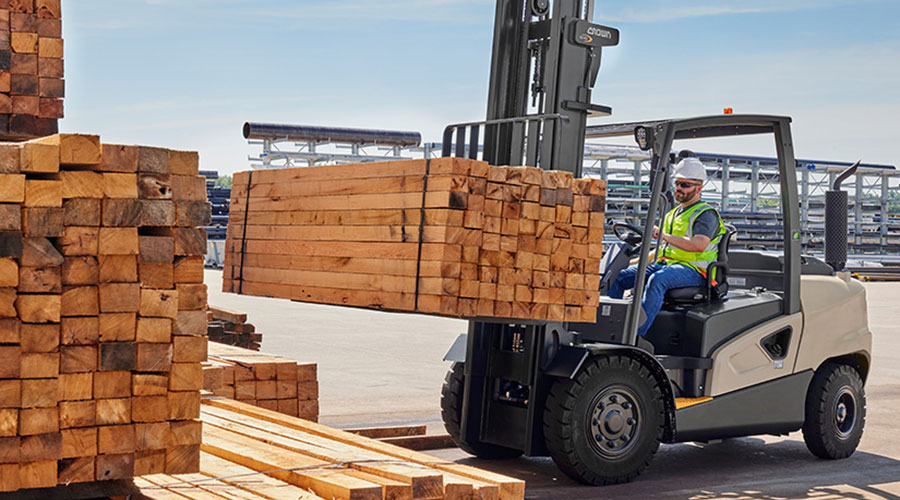
แม้ว่ารถฟอร์คลิฟท์ไฟฟ้าจะได้รับความนิยมมากขึ้น แต่รถฟอร์คลิฟท์ IC ยังคงเป็นตัวเลือกยอดนิยมเนื่องจากข้อดีหลายประการ: อย่างไรก็ตาม… Read More »ข้อดีของรถฟอร์คลิฟท์เครื่องยนต์สันดาปภายใน (IC)
แม้ว่ารถฟอร์คลิฟท์ไฟฟ้าจะได้รับความนิยมมากขึ้น แต่รถฟอร์คลิฟท์ IC ยังคงเป็นตัวเลือกยอดนิยมเนื่องจากข้อดีหลายประการ: อย่างไรก็ตาม… Read More »ข้อดีของรถฟอร์คลิฟท์เครื่องยนต์สันดาปภายใน (IC)